Automate WPForms Submissions with n8n: A Practical Setup for WordPress Sites
Form submissions are one of the most automation-friendly events on a WordPress site: a visitor gives you structured data, and your team immediately needs to do something with it (log it, notify someone, enrich it, follow up, create a task). The problem is that most sites still handle this with a messy mix of inbox rules and copy/paste.
In this guide, you’ll connect WPForms to n8n and build a workflow that runs whenever a form is submitted. n8n is a workflow automation platform (think visual “glue” between apps) that can receive a webhook (an HTTP callback URL) from your WordPress form and then push the same data into tools like Google Sheets, Slack, CRMs, or email marketing platforms.

Why n8n is a good fit for WordPress form automation
Many WordPress automation setups start simple (send an email, post to Slack), then quickly become “if X then Y, unless Z, and also write to a sheet.” n8n shines once you need branching logic, data formatting, filtering, and multiple downstream actions from a single trigger.
- Less busywork: no manual data entry from notifications into other tools.
- Fewer mistakes: data is transferred exactly as submitted (no typos from copy/paste).
- Better privacy options: n8n can be self-hosted, keeping form data under your control.
- Room to grow: start with one action (e.g., Slack) and expand into multi-step workflows.
Prerequisites (so you don’t get blocked halfway)
- WPForms Pro (or higher): the n8n integration is a premium add-on.
- WPForms 1.9.8.1+ installed on WordPress.
- An n8n instance: either n8n Cloud (trial available) or a self-hosted n8n install.
Terminology check
Trigger = the event that starts the workflow (your form submission). Action node = a step that does something with the data (write a row, send a message, create a contact). Webhook URL = the endpoint n8n exposes so WPForms can send submission payloads.
Step 1: Build the n8n workflow trigger (WPForms Trigger node)
Start on the n8n side. You want n8n ready to receive submissions before you configure WPForms.
- Log in to n8n and create a new workflow (use Start from scratch).
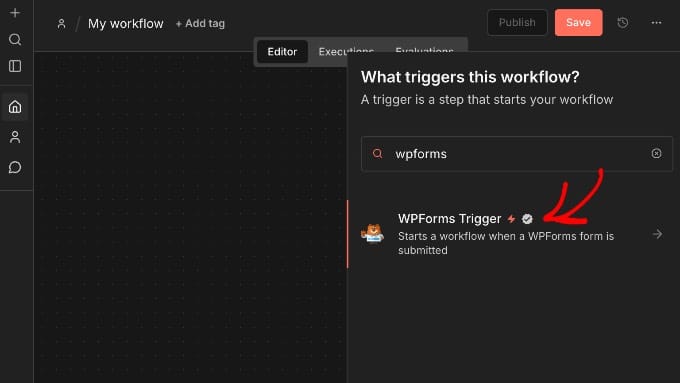
- Click the + on the canvas to add a node.
- Search for WPForms and pick WPForms Trigger.
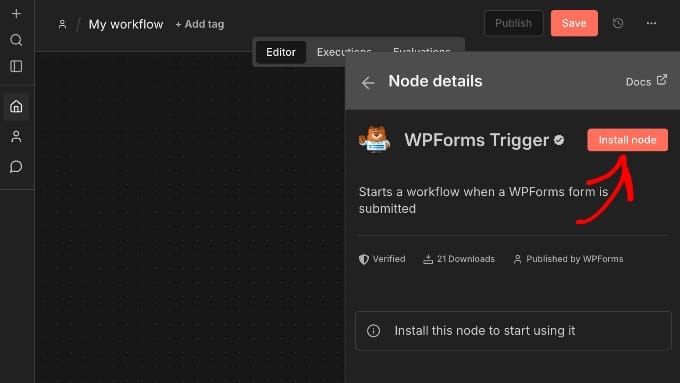
- If prompted, click Install node, then Add to workflow.


Grab the Production webhook URL
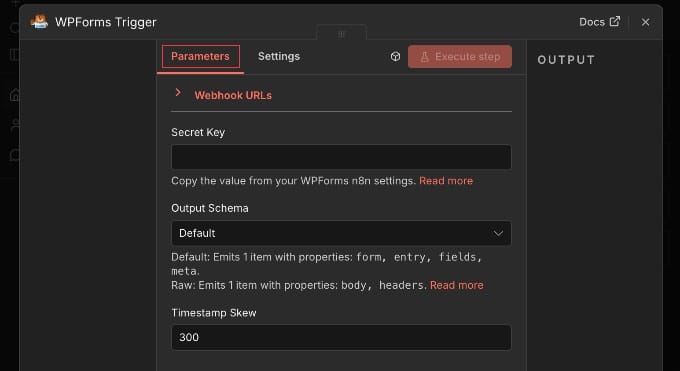
Open the WPForms Trigger node settings and locate the Webhook URLs section. n8n usually gives you a Test URL and a Production URL. For real automation, you’ll typically want the Production URL, because it’s designed to run continuously in the background (while test endpoints are often tied to the editor being open).

Don’t close the workflow yet
You’ll come back to the WPForms Trigger node to paste the Secret Key generated by WPForms.
Step 2: Enable the n8n add-on inside WPForms
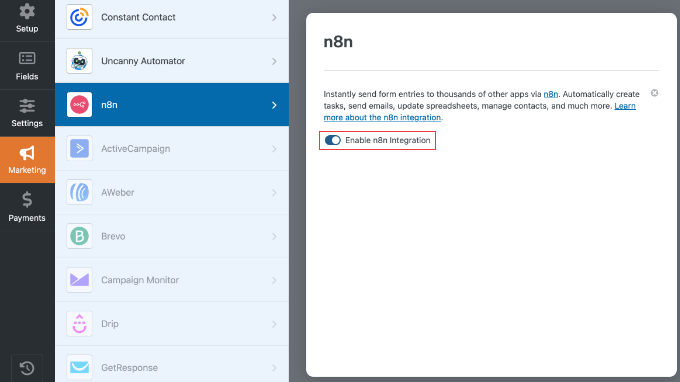
Now switch to WordPress and open the form you want to automate (a basic contact form is enough to validate the flow). In the WPForms builder, go to Marketing → n8n.

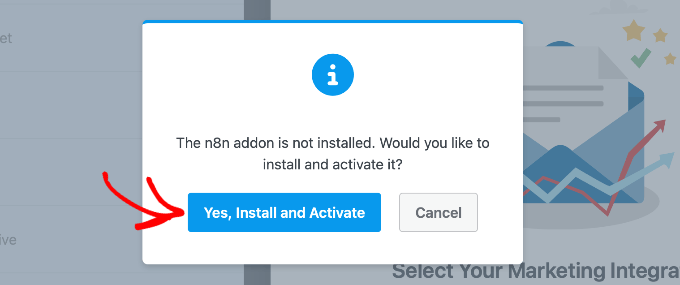
If the add-on isn’t installed yet, WPForms will prompt you to install and activate it. After activation, enable the integration via the toggle.
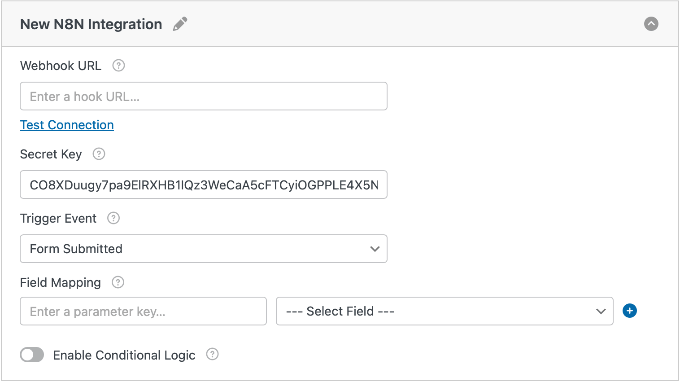
Step 3: Connect WPForms to n8n (Webhook URL + Secret Key)
This is the key handshake: WPForms needs to know where to POST the submission payload, and n8n needs a secret to verify the request is coming from your form integration.
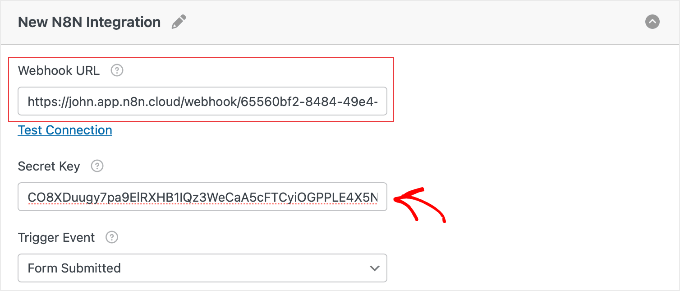
- Paste the Production URL from n8n into WPForms’ Webhook URL field.
- Copy the Secret Key generated by WPForms.
- Go back to n8n, open the WPForms Trigger node, and paste the secret into the node’s Secret Key field.
- Save the form in WPForms.

About “Test Connection” failures
Depending on your environment (especially localhost/dev setups), connection tests may fail due to network access, even if the automation works once deployed on a publicly reachable site.
Pick the right trigger event
WPForms lets you choose when it should fire the webhook. For most workflows you want every submission, but there are legit cases for the other options.
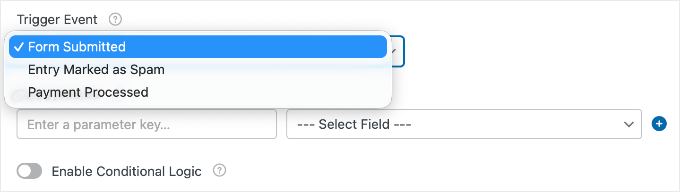
- Form Submitted: the default for lead capture and contact forms.
- Entry Marked as Spam: useful if you want to log or analyze spam patterns without polluting your main systems.
- Payment Processed: useful for order forms and payment confirmations.
Step 4: Map WPForms fields into clean n8n parameters
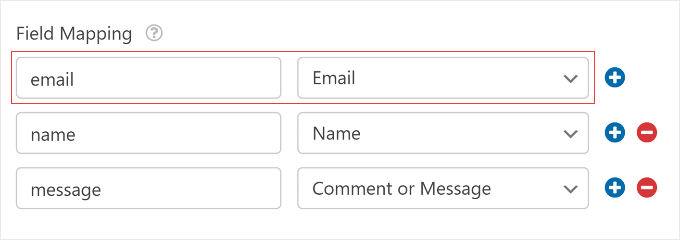
Field mapping is what makes the payload developer-friendly. Instead of dealing with opaque internal IDs, you define your own parameter keys (like email, name, phone) and map them to WPForms fields. Those keys become the variables you’ll reference inside n8n.
Practical naming convention
Stick to lowercase keys with underscores where needed (for example: first_name, last_name, company, email). This keeps mapping predictable when workflows evolve.
Step 5: Add action nodes in n8n (what happens after submission)
At this point, n8n can receive the submission—but it won’t do anything until you add at least one action node.
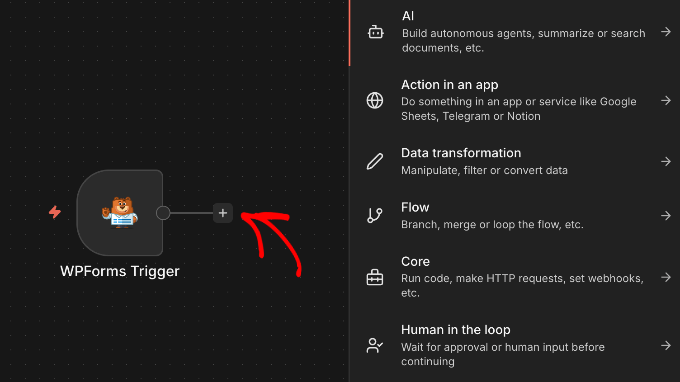
On the right edge of the WPForms Trigger node, click the + to add a new node, then pick your destination app. Most integrations require authentication (OAuth login or an API key) via the node’s Credentials/Authentication section.
- Google Sheets: append a row for each submission (good for lightweight pipelines).
- Slack / Microsoft Teams: notify a channel when a new lead comes in.
- Email marketing: subscribe contacts in tools like Mailchimp or ActiveCampaign.
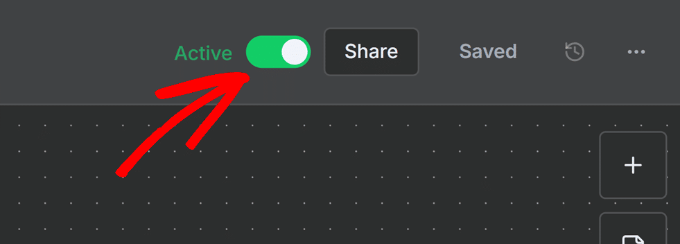
Once you’ve added and configured your action nodes, save the workflow and set it to Active so it can run in the background.
Step 6: Test the full loop end-to-end
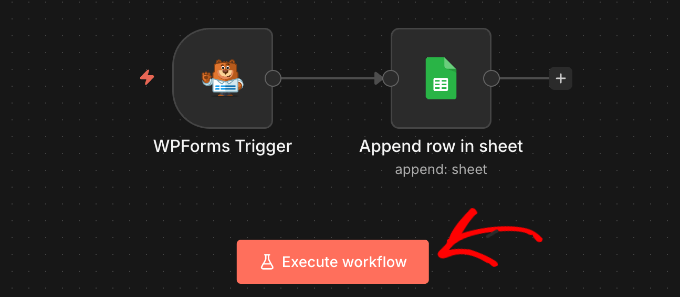
Before you rely on the workflow, run a real submission through it. In n8n, click Execute workflow first so the trigger is listening, then submit your WordPress form with realistic test data.
If no data arrives, check the usual suspects: the workflow must be active, the webhook URL must match exactly, and your field mappings should be set.
Operational notes (stuff you’ll care about after day one)
You can stop saving entries in WordPress (optional)
If your intent is to use n8n as the system of record (or to keep data out of the WordPress database), WPForms includes an option to disable entry storage. In the form builder, go to Settings → General, open the Advanced section, and enable Disable storing entry information in WordPress.
If you delete the WPForms node in n8n, the webhook changes
Removing the WPForms Trigger node from a workflow breaks the connection. When you add it back, n8n will generate a new Production URL—so you’ll need to update the webhook URL inside WPForms to re-establish the link.
Cost model reality check
n8n can be free if you self-host, but the WPForms side of this integration requires WPForms Pro (or higher) because the n8n add-on is a premium feature.
Common workflow patterns worth implementing
- Lead routing: notify different Slack channels based on a “Department” field.
- CRM hygiene: normalize phone numbers and names before creating contacts.
- Payment follow-ups: on “Payment Processed”, send a confirmation and create an onboarding task.
- Spam telemetry: on “Entry Marked as Spam”, log to a sheet for analysis without touching your CRM.
Summary
The cleanest way to automate WordPress form handling is to treat submissions as an event stream: WPForms emits the event via a webhook, and n8n orchestrates everything that happens next. Once the Production URL, Secret Key, and field mapping are in place, you can build reliable, multi-step workflows that save time and reduce mistakes.
References / Sources
James O'Brien
Backend developer, Node.js and Go specialist. API design and microservices architecture are my main focus. I love diving deep into technical details.
All posts